Tutorial: Creating Your First Verification Session
Tutorial: Creating Your First Verification Session
This tutorial walks you through the core Verifa integration — creating a verification session, guiding a user through identity capture, and getting the result back. By the end, you’ll understand the full session lifecycle and have a working end-to-end flow in sandbox.
What you’ll learn
- Creating a verification session via the API
- Redirecting a user to the capture flow
- How sandbox mode works (choosing verification outcomes)
- Retrieving the full verification result
- Connecting session results to your webhook handler
Prerequisites
- A Verifa account (sign up)
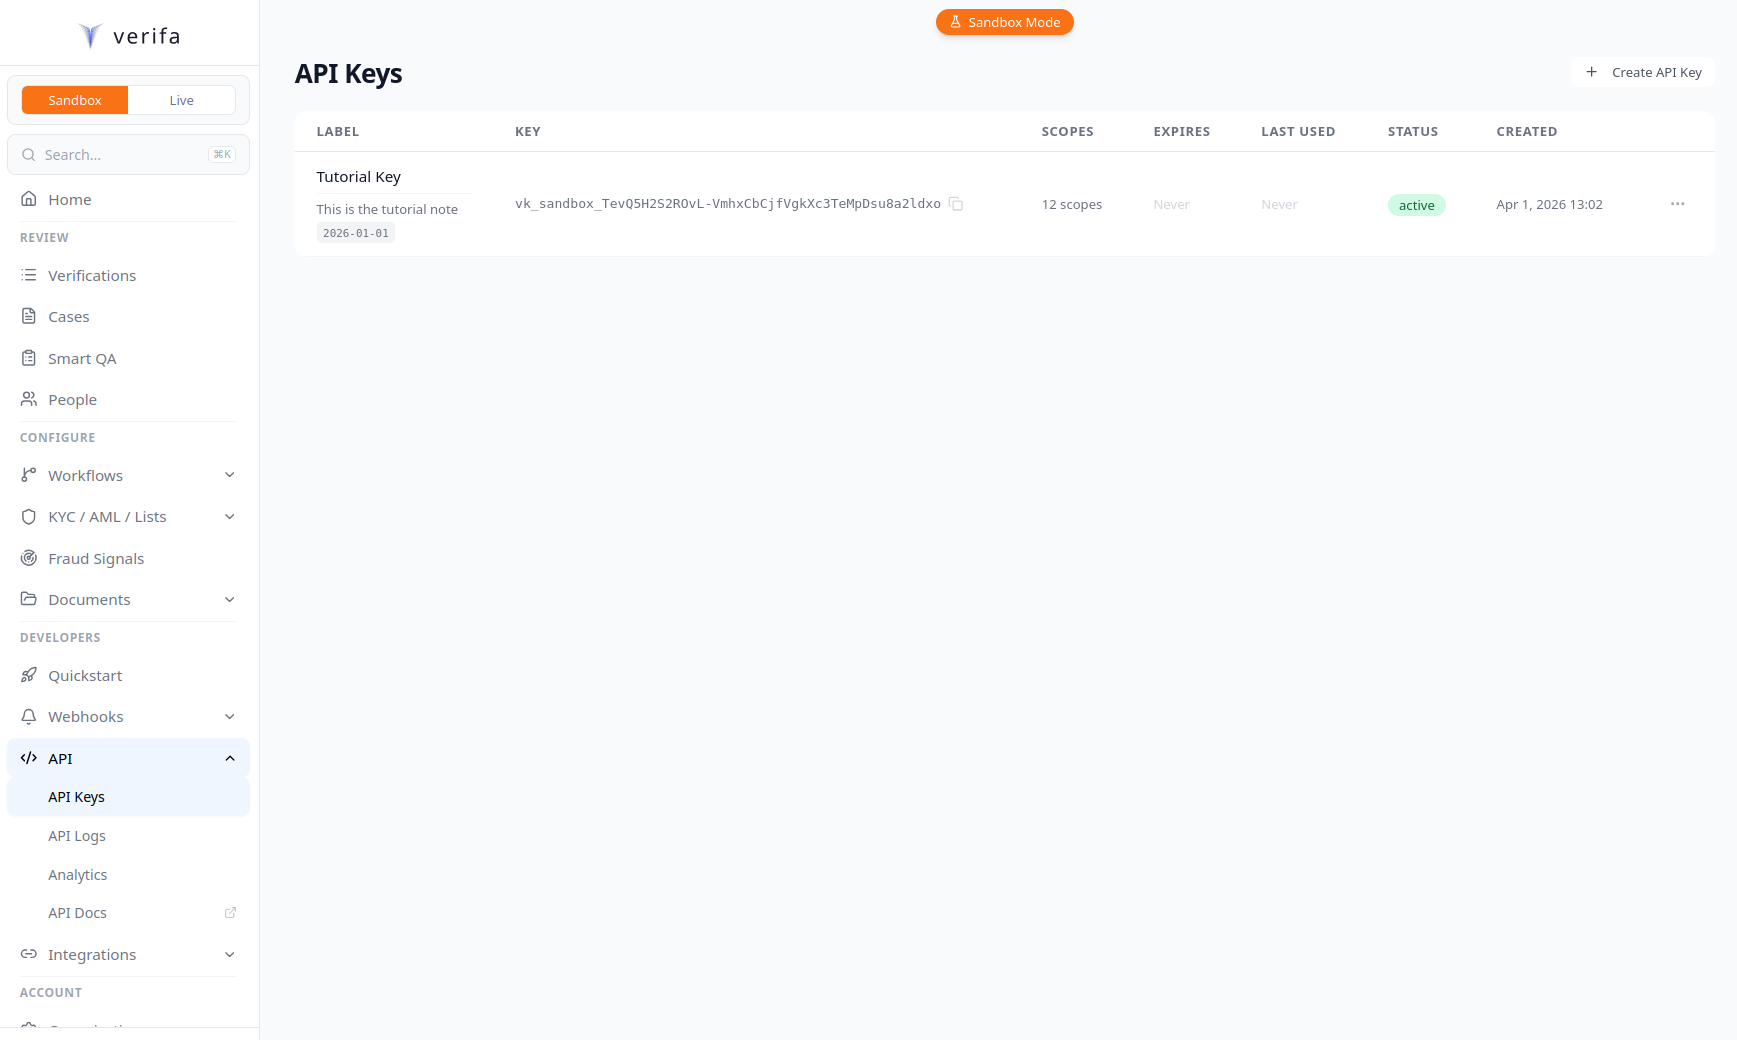
- A sandbox API key (starts with
vk_sandbox_). Find it under Developers > API > API Keys in the dashboard.
The session lifecycle
Before we start, here’s the path a session takes:
In live mode, sandbox_pending is replaced by processing (async
verification), but the rest is the same.
Step 1: Create a session
Call the API to create a new verification session. The only required field is your API key — everything else is optional.
cURL
Python
Node.js
Go
The response includes the capture_url — the link you’ll send your user to:
The external_ref field is optional but strongly recommended. It’s your
internal user ID — you’ll use it to correlate webhook events and results back
to users in your system.
Optional: Create a session from the dashboard
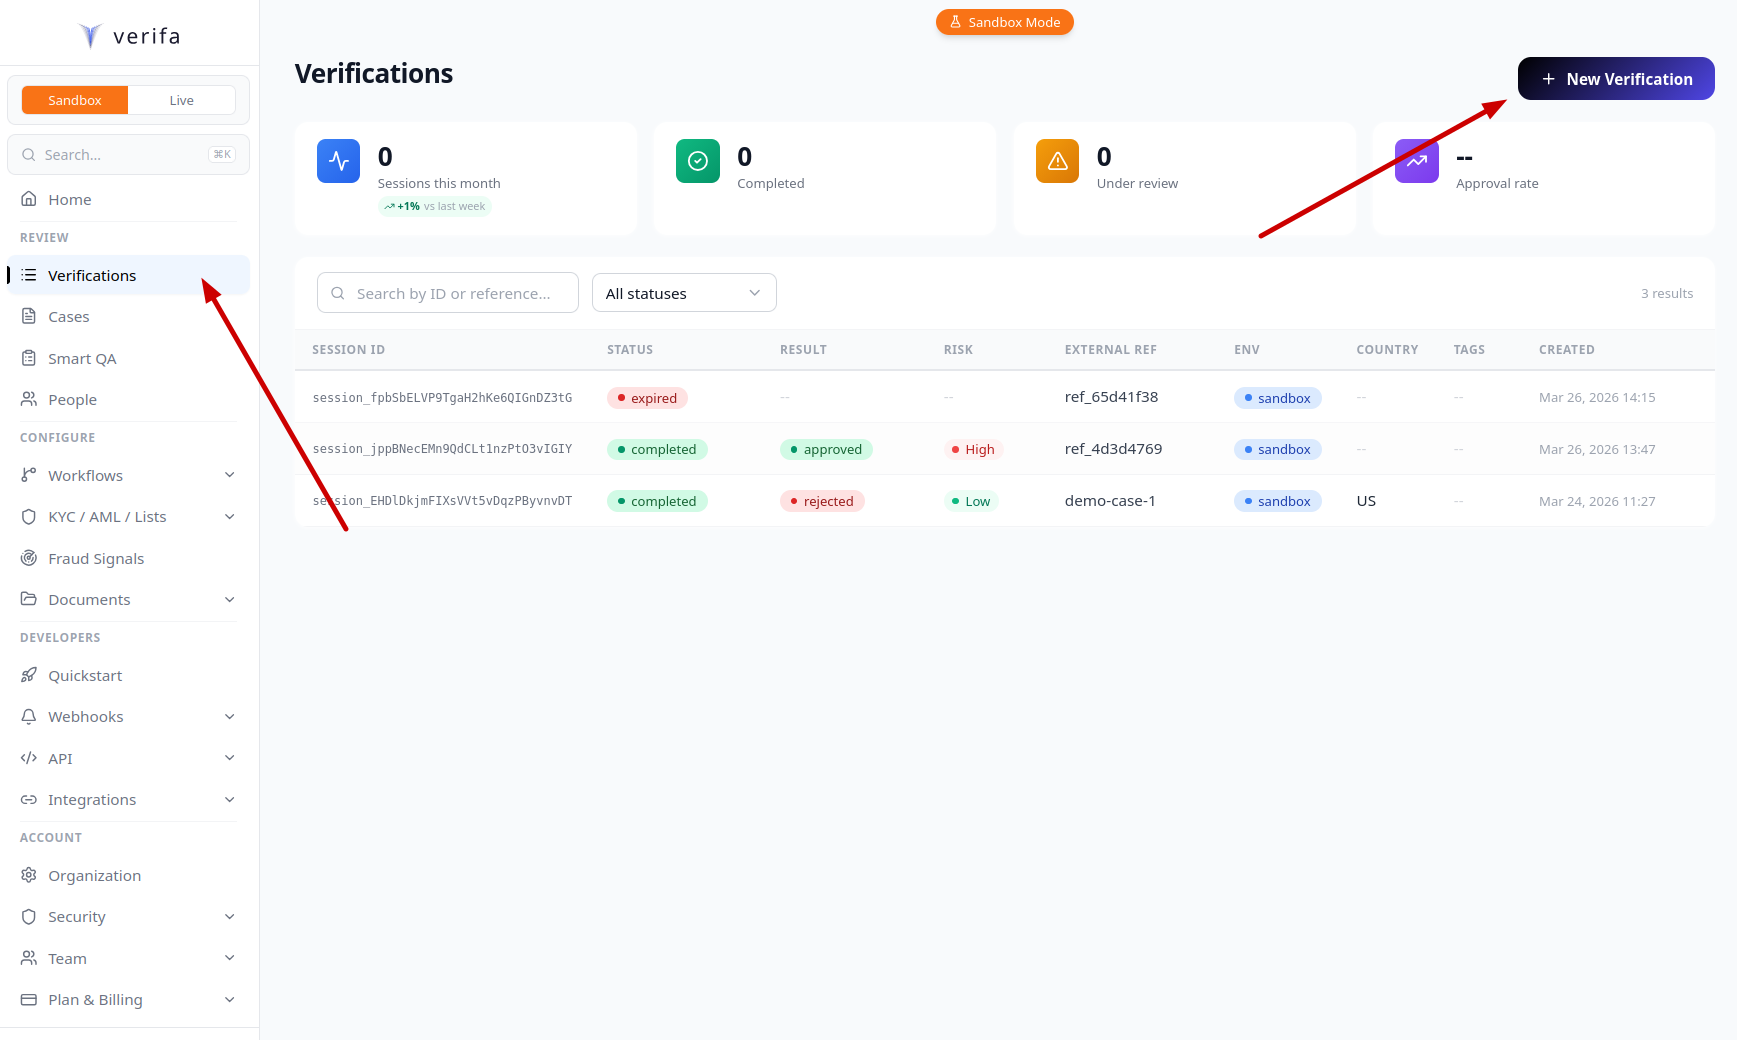
You can also create sessions directly from the dashboard. Navigate to Verifications in the sidebar and click + New Verification in the top right corner.
The New Verification modal lets you fill in:
- External Reference — your internal user/case ID (you can click Generate to auto-fill one)
- Applicant Name — optional name for the verification
- Applicant Email — optional email (used if you enable email invites)
- Email invite to applicant — toggle to send the verification link directly to the applicant’s email
- Workflow — select which workflow to use (defaults to your org’s default workflow)
Click Create Verification when you’re ready.

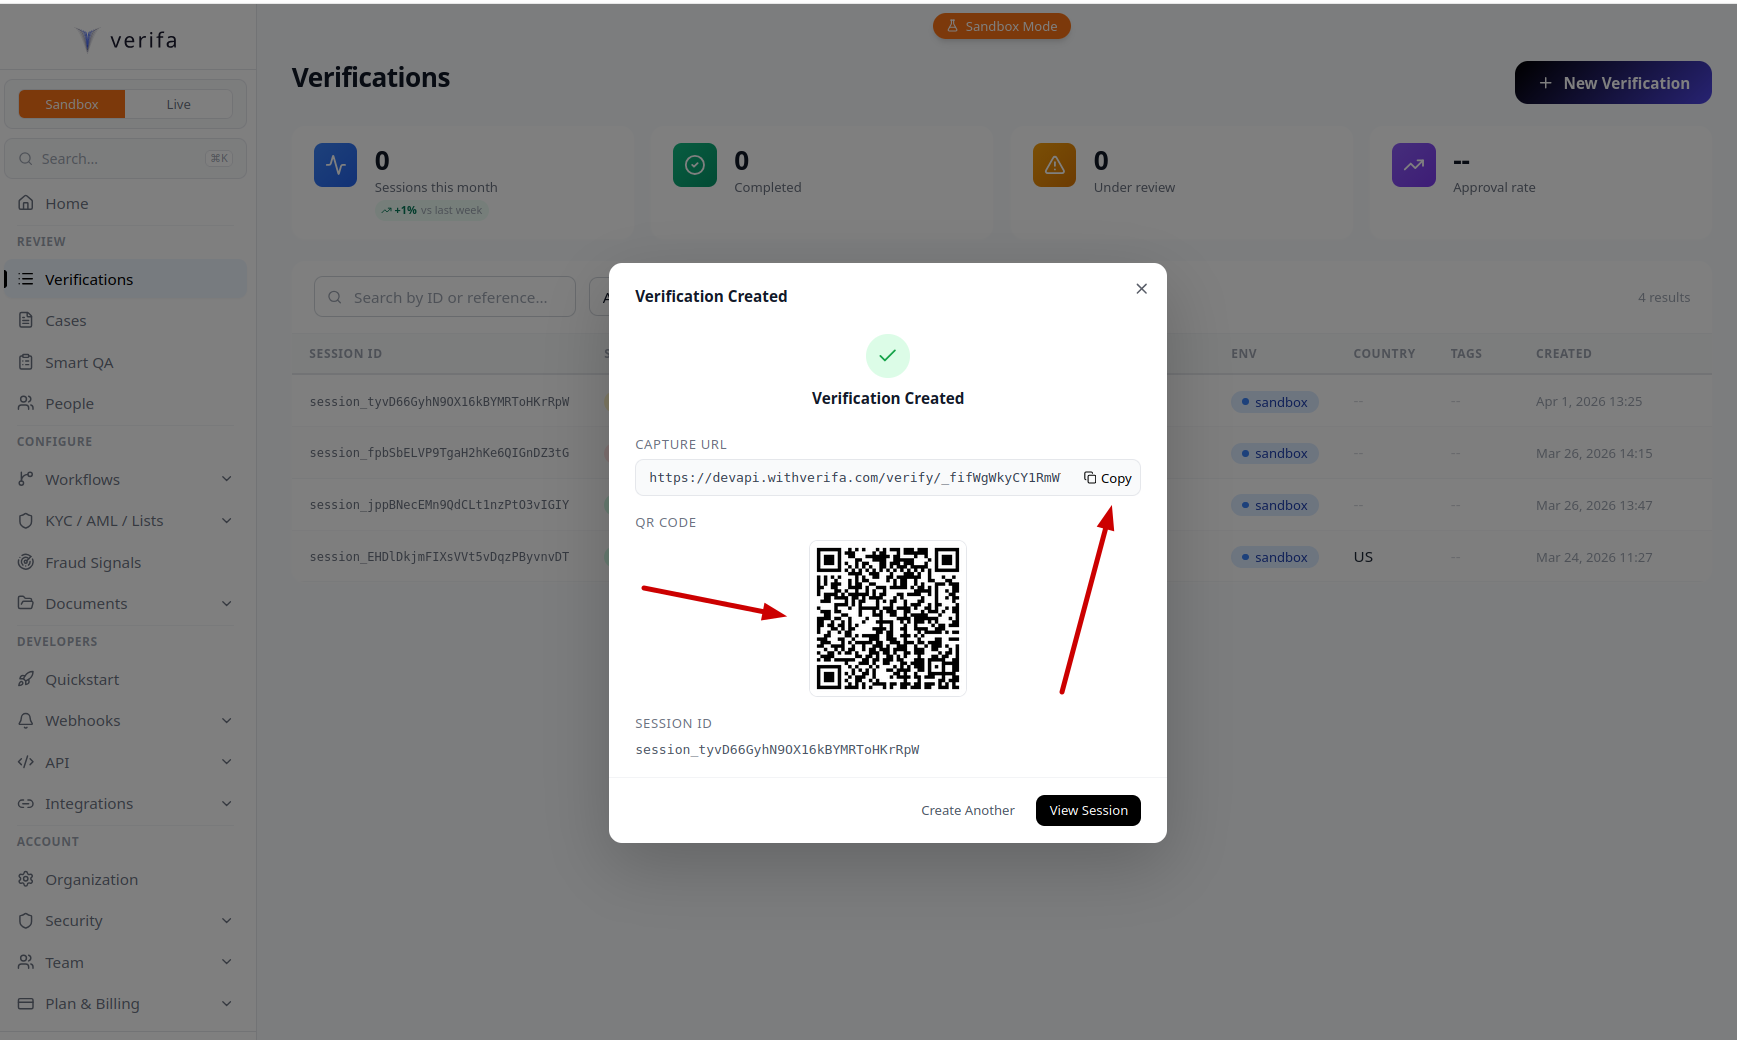
After creation, a Verification Created modal appears with the capture URL and a QR code. Click Copy to grab the capture URL, or scan the QR code on a mobile device. You can also click View Session to go to the session detail page, or Create Another to start a new one.
What you can configure
The create session endpoint accepts several optional fields:
For this tutorial, we only need external_ref. You can explore the other
options once you have the basic flow working.
Step 2: Walk through the capture flow
In a real integration, you’d redirect the user to the capture_url or display
it in an iframe/popup via verifa.js. For this
tutorial, just open the capture URL in your browser.
The capture flow walks the user through several steps. Here’s what each one looks like:
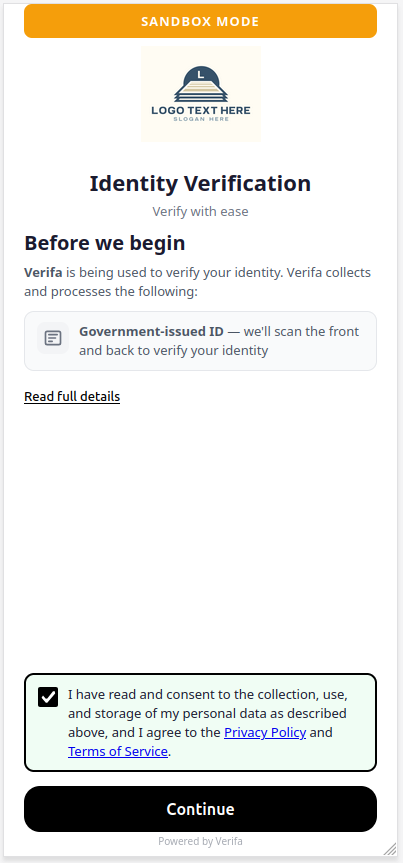
2a. Consent
The first screen explains what data Verifa will collect and asks for consent. The user checks the consent box and clicks Continue.
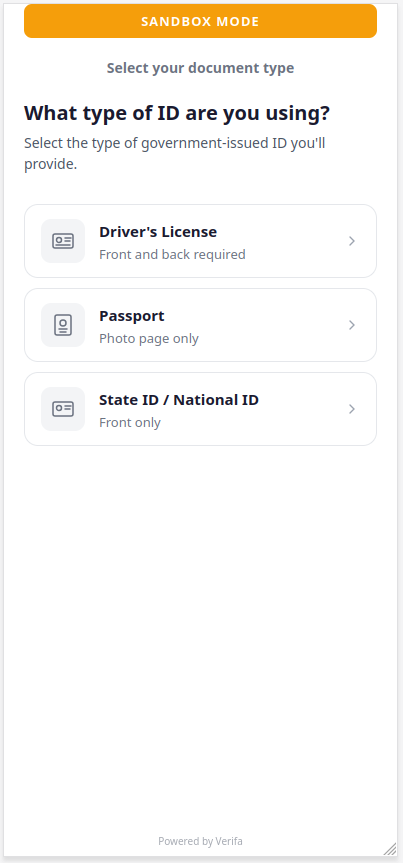
2b. Document type
The user selects what type of government-issued ID they’ll provide:
- Driver’s License — front and back required
- Passport — photo page only
- State ID / National ID — front only
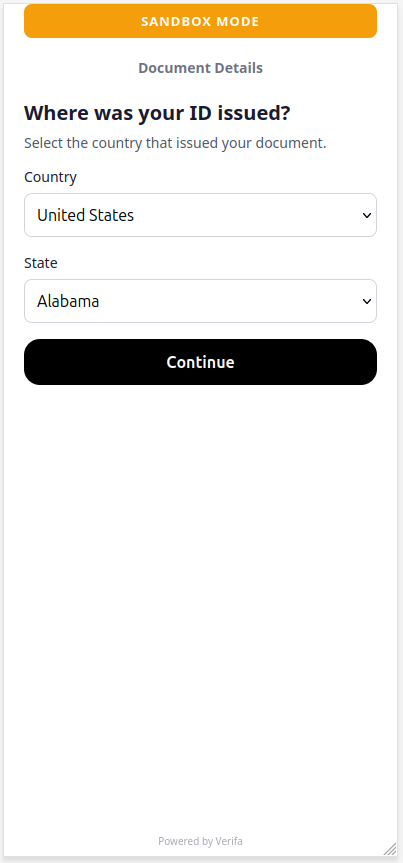
2c. Document country and state
Next, the user selects where their ID was issued. For US documents, they also select the issuing state.
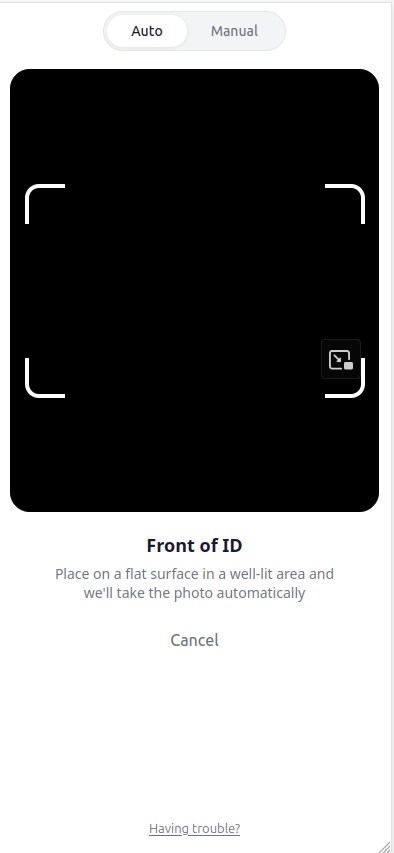
2d. Scan the front of the ID
The user is prompted to scan the front of their document. Tips are shown for best results: use good lighting, avoid glare, and place the ID on a dark flat surface. Click I’m ready to open the camera.

The camera opens with a document frame. The user can switch between Auto (captures automatically when the document is detected) and Manual mode. There’s also an upload button in the bottom-right corner to upload an existing photo instead.
2e. Review the front
After capture, the user reviews the photo. They can Submit photo to continue or Retake photo to try again. They can also change the ID type if they picked the wrong one.
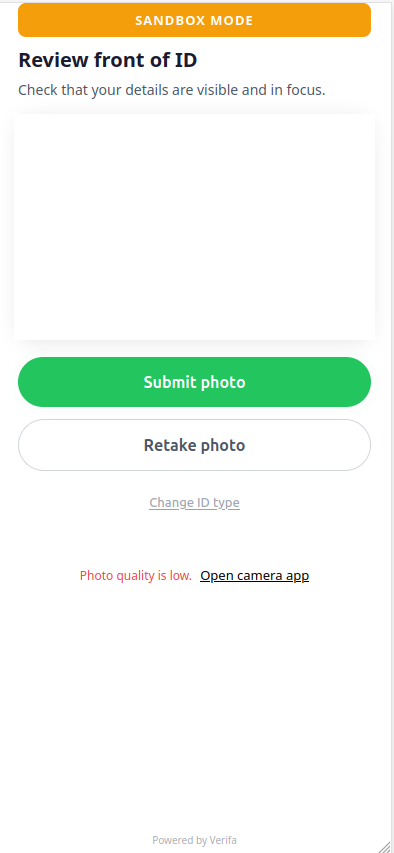
In sandbox mode, you can upload any image — Verifa won’t run real OCR. The “Photo quality is low” warning is normal for test images. Just click Submit photo to continue.
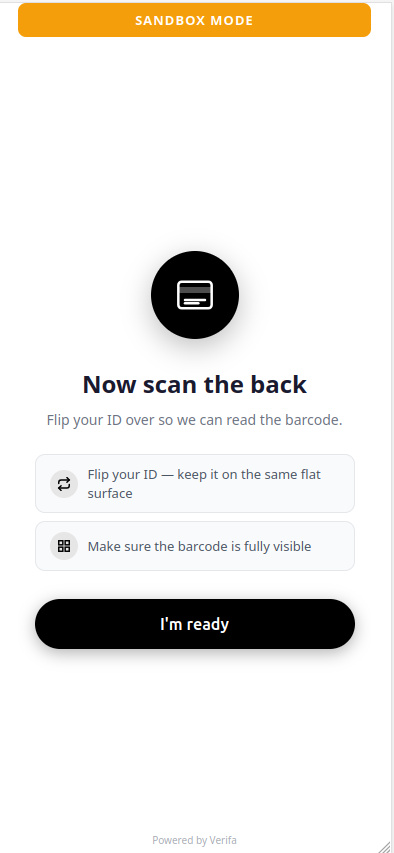
2f. Scan the back of the ID
For document types that require a back scan (like driver’s licenses), the user is prompted to flip their ID over. The tips remind them to keep the barcode fully visible.
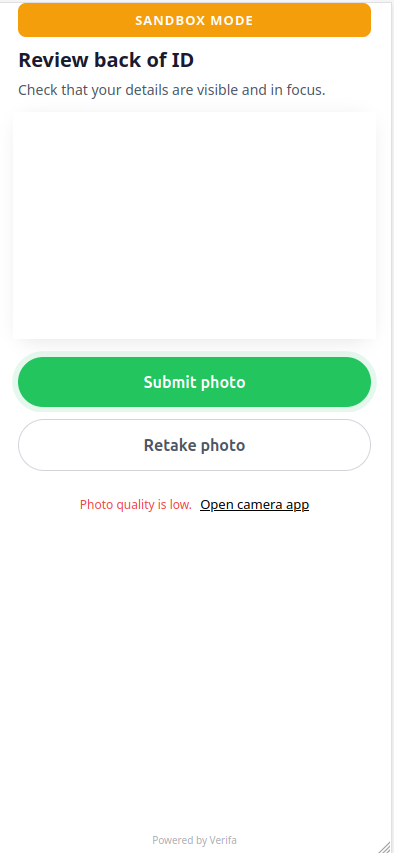
After scanning, the same review screen appears for the back:
2g. Selfie capture
If the workflow includes facial recognition (most do), the user takes a live selfie. This is compared against the photo on the ID document to verify the person presenting the ID is the same person pictured on it.
2h. User information (if configured)
If the workflow’s capture requirements include user information fields (name, email, phone, etc.), the user fills those in before submitting. See the Creating a Workflow tutorial for how to configure which fields are collected.
Step 3: Choose a sandbox outcome
After completing the capture flow in sandbox mode, the session moves to
sandbox_pending status. The capture UI presents a Choose Verification
Outcome screen with preset options:
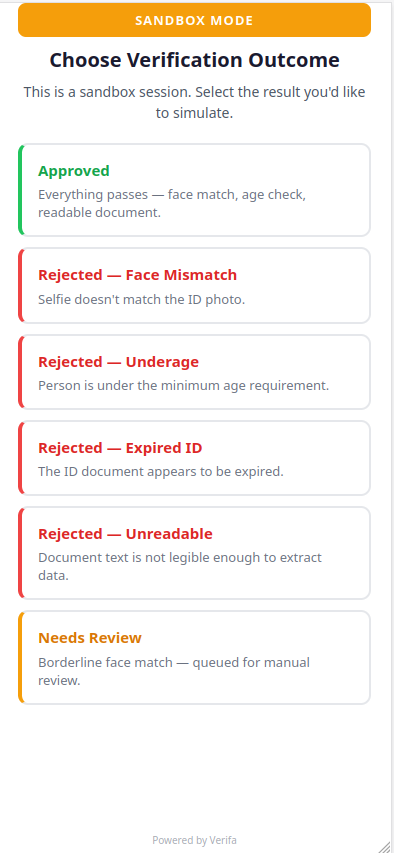
Select Approved for this tutorial. The session completes immediately and
Verifa dispatches a session.approved webhook (if you have an endpoint
configured).
After selecting an outcome, you’ll see a confirmation screen:
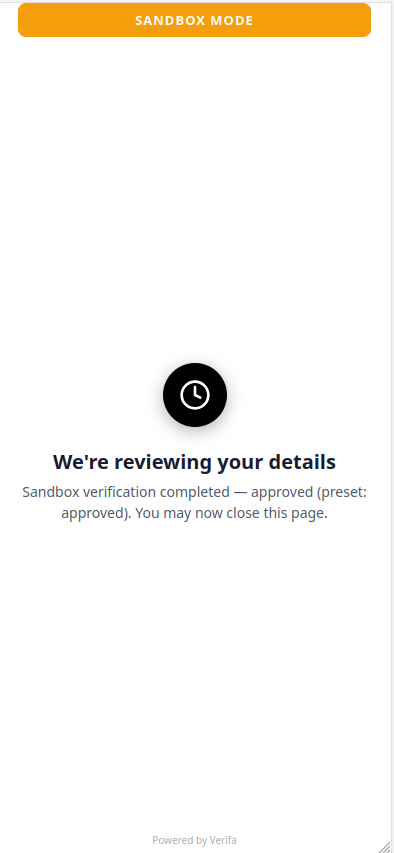
The user can now close this page. In a real integration, they’d be redirected
to your redirect_url if you set one.
All sandbox presets return mock PII data:
Step 4: Check the session status
After choosing an outcome, poll the session to confirm it completed:
cURL
Python
Node.js
Go
The status is now completed. Note that the session response itself doesn’t
include the verification results — for that, you need the result endpoint.
Step 5: Retrieve the verification result
Fetch the full result with extracted data, check outcomes, and scores:
cURL
Python
Node.js
Go
Understanding the result
In live mode, which PII fields are returned via the API depends on your
organization’s api_pii_fields allowlist. SSN, for example, is only included
if explicitly enabled.
Step 6: View the session in the dashboard
You can also view completed sessions in the dashboard. Navigate to Verifications in the sidebar to see all your sessions with their status, result, risk level, and other details.
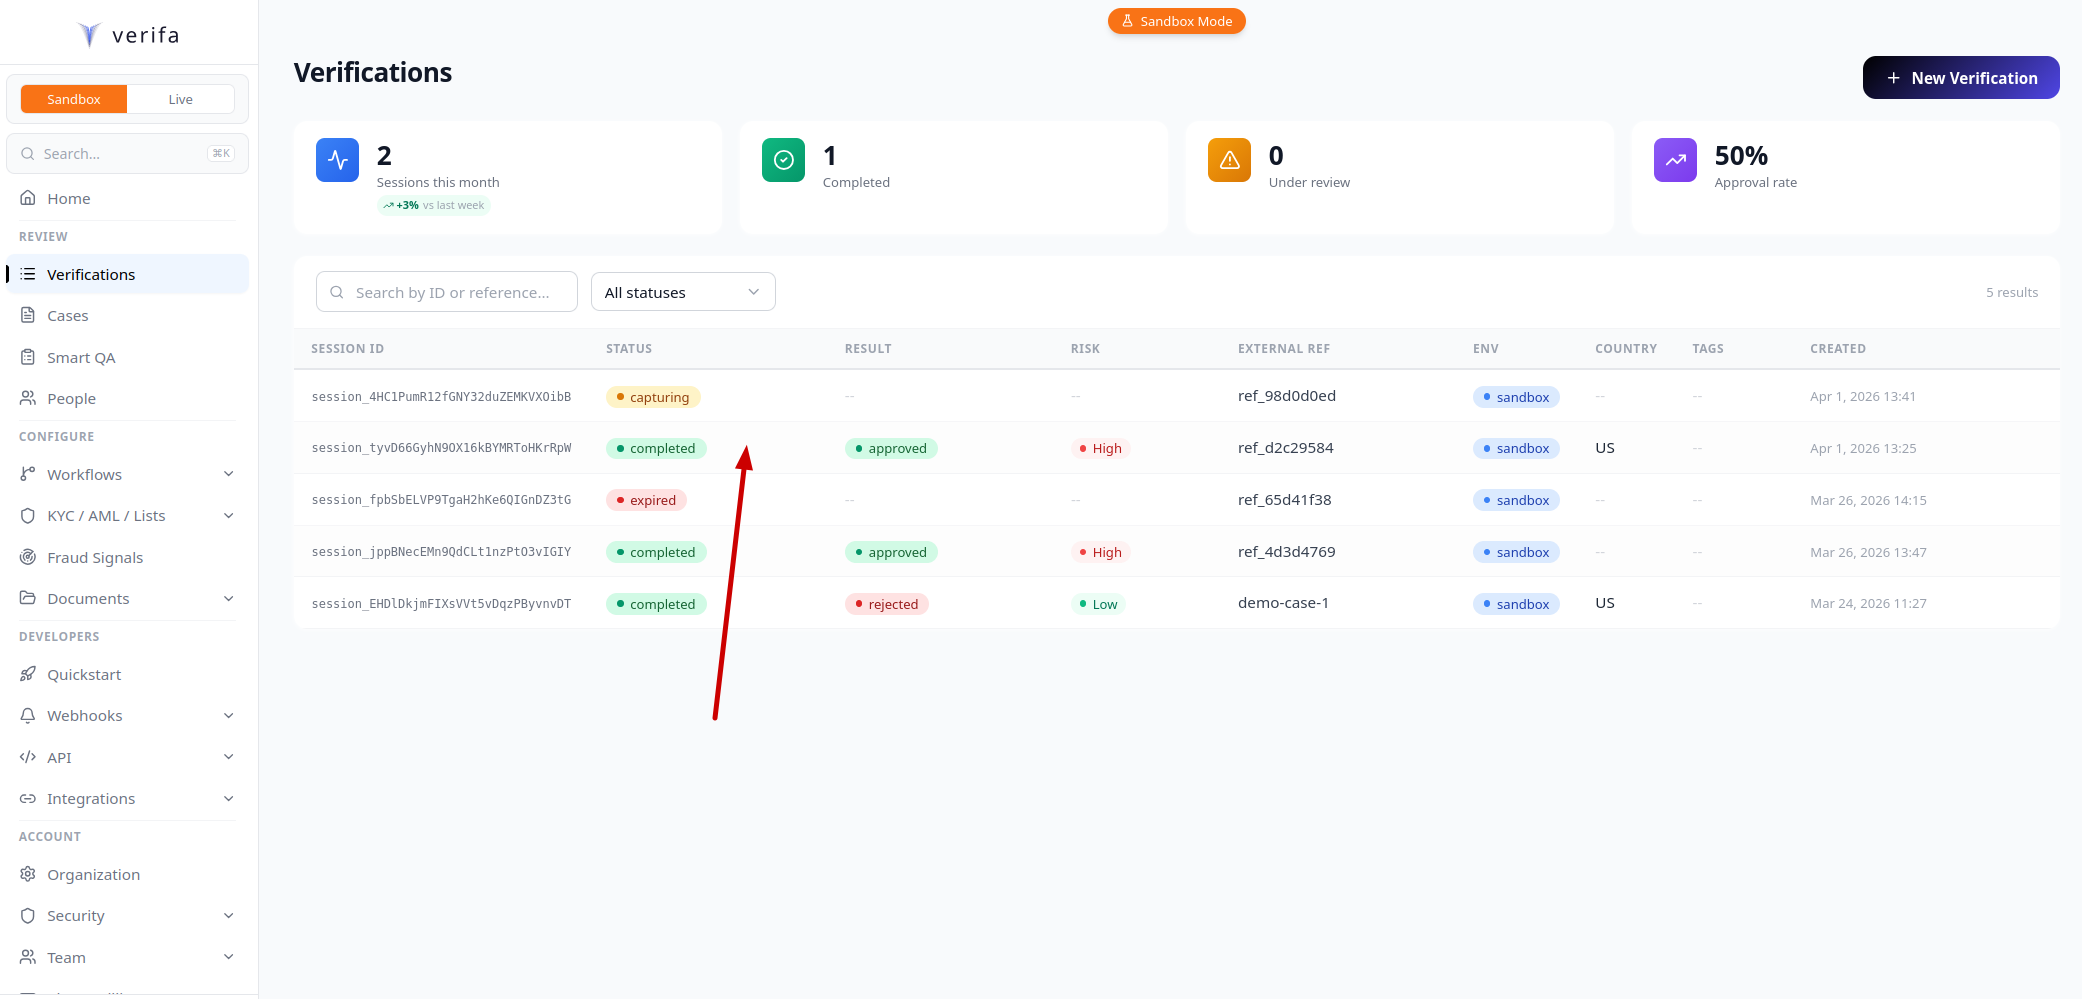
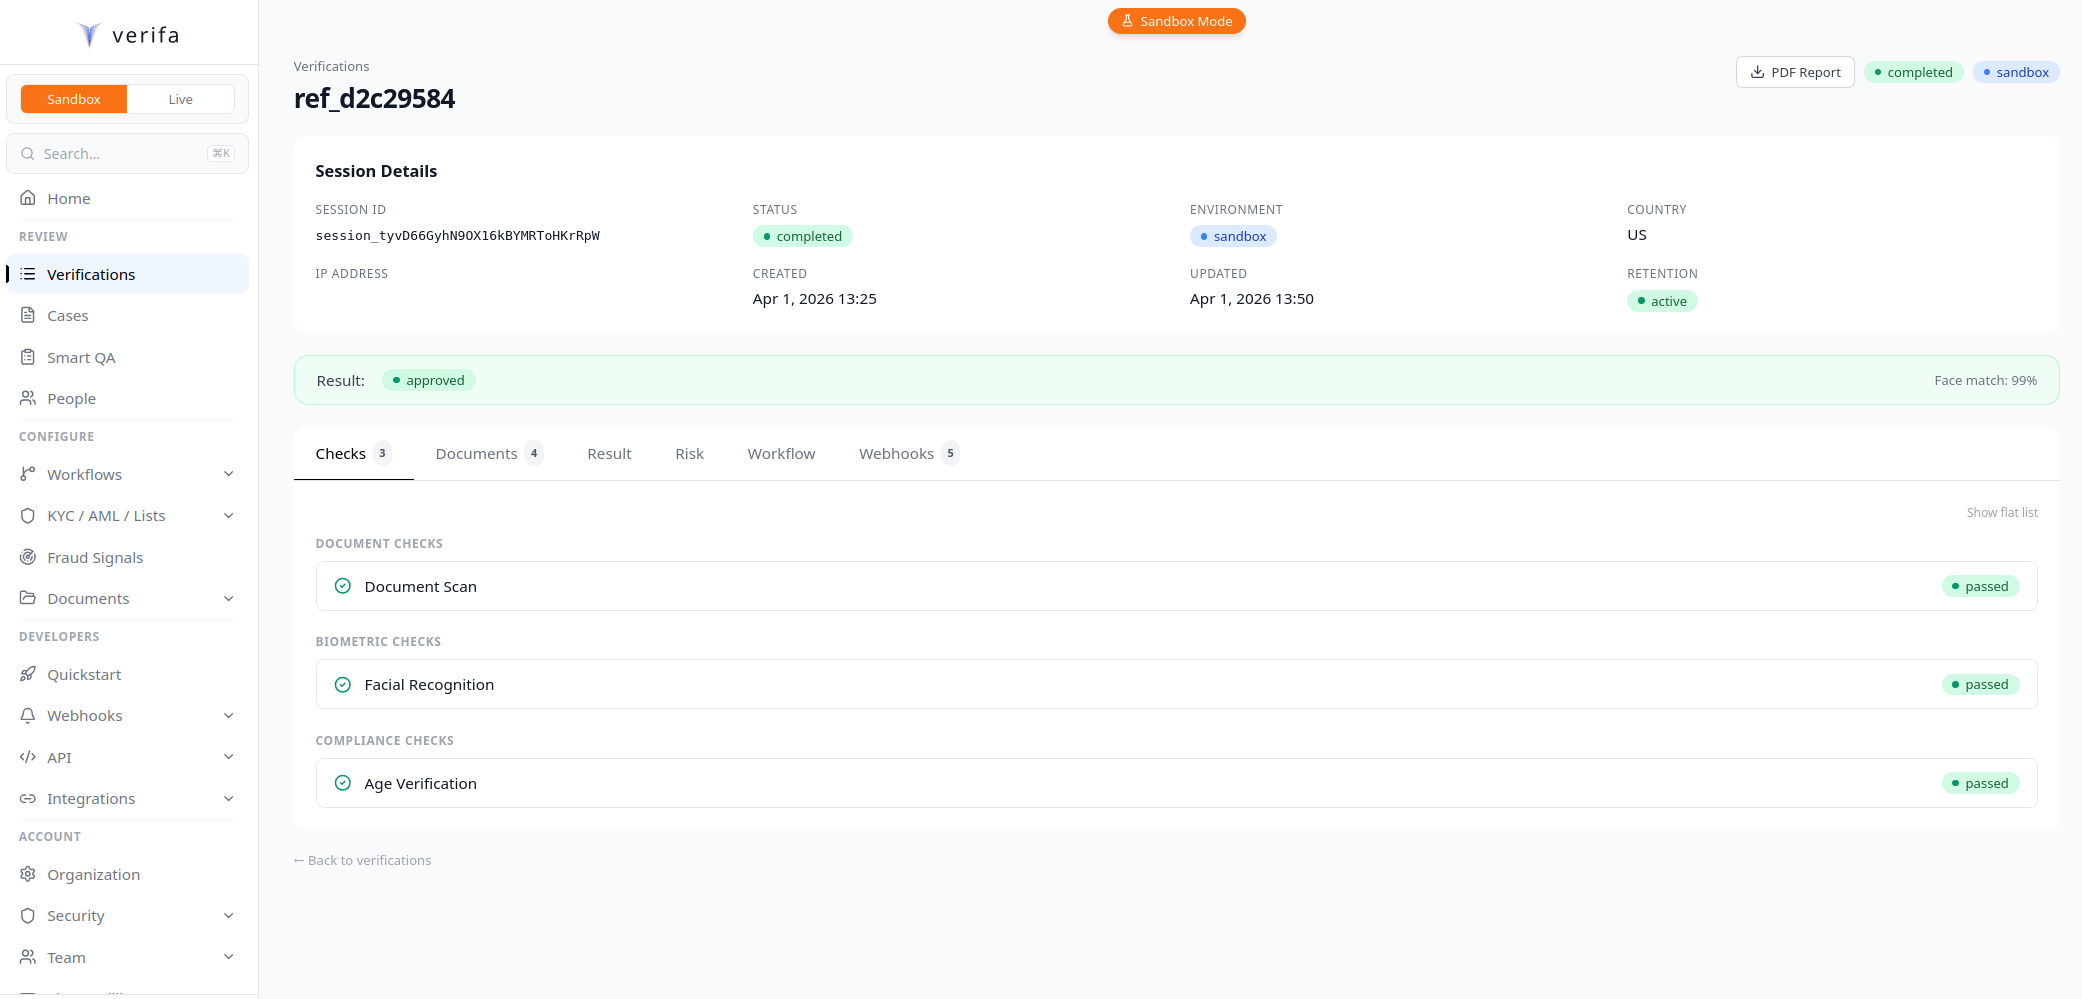
Click on a session to open the detail page. Here you can see:
- Session Details — session ID, status, environment, country, IP address, timestamps, and retention status
- Result — the overall result (approved/rejected) and face match score
- Checks — individual check outcomes (Document Scan, Facial Recognition, Age Verification) organized by category
- Documents — uploaded ID images
- Risk — risk assessment details
- Workflow — which workflow version processed the session
- Webhooks — delivery history for this session’s events
Step 7: Connect it to webhooks
Polling the API works, but webhooks are the recommended way to get notified
when a session completes. If you followed the
Receiving Webhooks tutorial, your
endpoint will receive a session.approved event like this:
See the Handling Webhook Events tutorial for how to build handlers for each event type.
Putting it all together
Here’s the complete integration in a single backend endpoint:
Python (FastAPI)
Node.js (Express)
Go
Try different sandbox presets
Now that you have the flow working, try the other sandbox presets to see how your integration handles rejections and edge cases:
This lets you test all the code paths in your webhook handler before going live.
Next steps
- Receiving Webhooks & Validating Signatures — Set up webhook signature verification
- Handling Webhook Events — Build handlers for each event type
- Creating a Workflow — Customize the verification pipeline
- JavaScript SDK — Embed capture in your frontend with verifa.js
- Testing — Sandbox testing strategies
- Sessions — Full session lifecycle reference